Bước 1: Tạo layout
Layout của fragment thứ hai gồm một RelativeLayout chứa một TextView. Các bước thực hiện tương tự tạo layout cho fragment thứ nhất nhưng tên layout là layout_second_fragment:
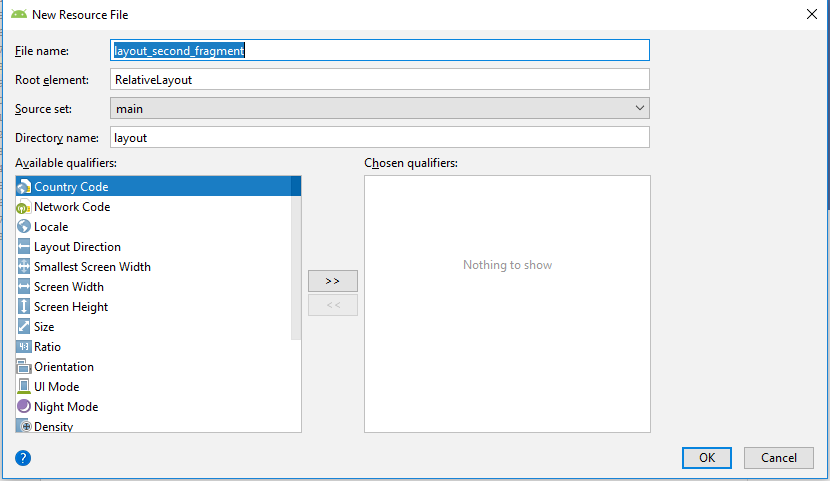
Tập tin layout_second_fragment.xml có nội dung như sau:
<?xml version="1.0" encoding="utf-8"?>
<RelativeLayout
xmlns:android="http://schemas.android.com/apk/res/android"
android:layout_width="match_parent"
android:layout_height="match_parent">
<TextView
android:id="@+id/textView1"
android:layout_width="wrap_content"
android:layout_height="wrap_content"
android:layout_centerHorizontal="true"
android:layout_centerVertical="true"
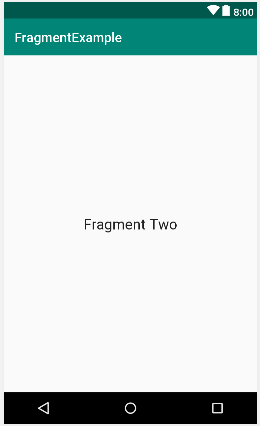
android:text="Fragment Two"
android:textAppearance="?android:attr/textAppearanceLarge" />
</RelativeLayout>
Giao diện trông như sau:
Bước 2: Tạo lớp fragment thứ hai
Tạo tập tin SecondFragment.java trong package com.ngocminhtran.fragmentexample chứa lớp SeconFragment kế thừa lớp Fragment và định nghĩa lại phương thức onCreateView() như sau:
package com.ngocminhtran.fragmentexample;
import android.os.Bundle;
import android.support.v4.app.Fragment;
import android.view.LayoutInflater;
import android.view.View;import android.view.ViewGroup;

public class SecondFragment extends Fragment  {
    @Override
    public View onCreateView(LayoutInflater inflater,
         ViewGroup container, Bundle savedInstanceState) {
         View view = inflater.inflate(R.layout.layout_second_fragment,
                   container, false);
         return view;
    }
}
Như vậy chúng ta đã hoàn thành việc tạo hai fragments. Bây giờ chúng ta sẽ nhúng các fragments này đến Activity.
